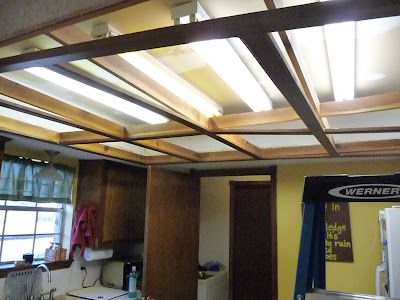
When we left off, we had taken down the old fluorescent box light and removed the popcorn ceiling. You can read about that
here.
Once all of the popcorn texture was removed, it was time to finish the ceiling.This involved patching old holes, cutting new holes and applying a new texture to the ceiling. Our plan was to remove the four fluorescent tube lights, and install recessed lights instead. However, none of the recessed lights would be using any of the holes from the original light fixture :( So we had four holes to patch and five new holes to cut (in addition to the four recessed lights we ordered an awesome light fixture/fan combo for the center of the room). Since I had so many holes to patch I decided to apply a subtle texture to the ceiling to help mask the patches.
Todd removed the old light fixtures and I set to work patching the holes they left behind. I used a self-adhesive drywall patch I found at Lowes. These work great! It's as easy as it says on the package - stick it on, cover with compound, sand and paint.
The product:
Patch in place!
It was only after we removed the light fixtures that I realized there were a number of smaller holes as well. For these I just used a small square of drywall tape.
Once patched, I neatly applied drywall compound to cover the mesh. Once dry, it was time to lightly sand it, prime the walls and ceiling and then apply texture.
To create a texture similar to that found in other parts of our house, I found this product made by Homax. Texture in a can! I have to say that overall I was very happy with this product. Very easy to apply and I was happy with the way it looked. The one drawback (and it's a pretty big one) is that it didn't cover anywhere close to the amount of space it says on the can. It says it should cover at least 25 square feet and for me it was covering maybe 15 square feet. Quite a big difference, but I didn't want to switch techniques in the middle of my project, so I just bit the bullet and bought more cans. I would definitely use this product again, but probably not for such a big area. What the product lost in coverage area, it made up for in ease of use and a pretty finish!
Picture of the can:
Spray it on in a circular motion:
Let it set up for a few minutes (the can says 2, but in our heat I found that 5 worked better for me). Then, holding a paint scraper/mud knife parrallel to the wall, lightly swipe the knife over the area.
Tada!
Once it's fully dry, it's ready to paint!
.jpg)


.jpg)